Last updated: December 2025
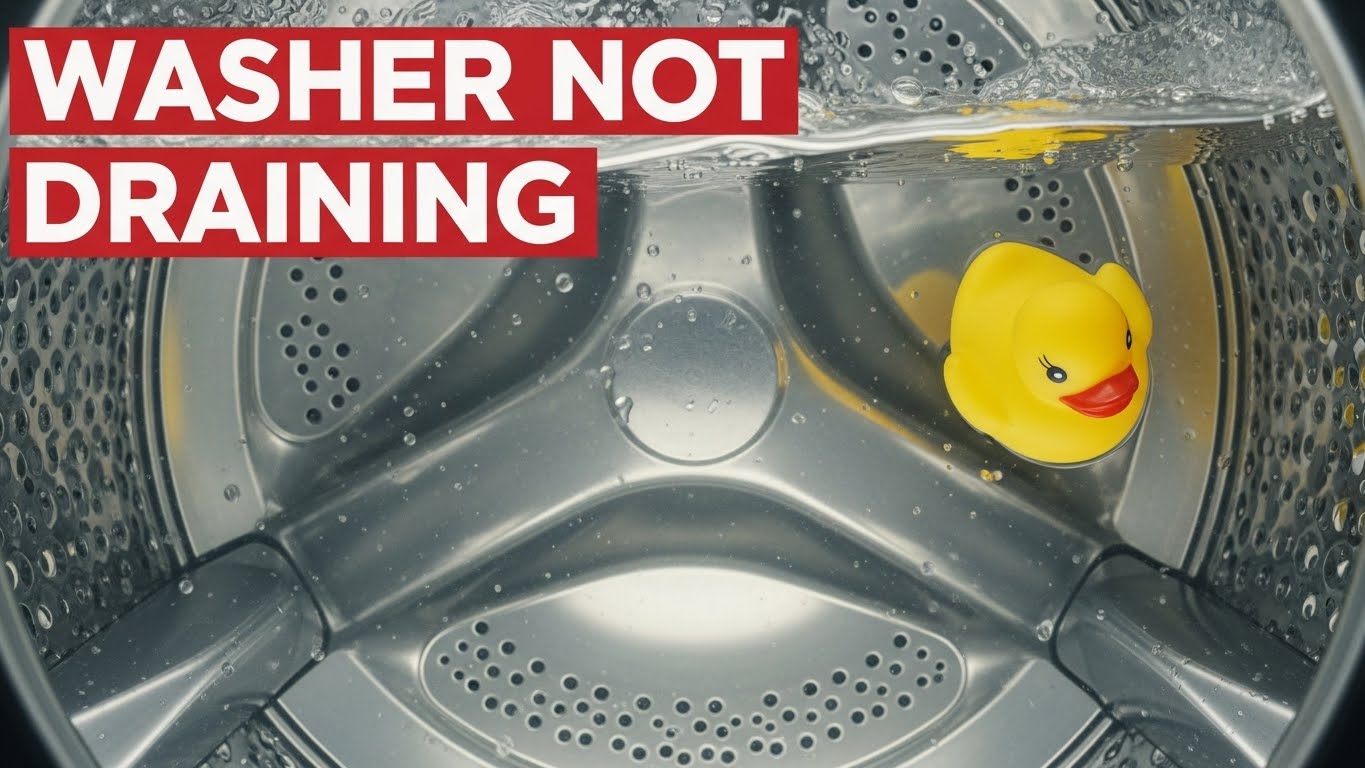
A washer full of standing water is frustrating, but here’s the good news: most “washer not draining” problems come down to a flow restriction, not a “dead machine.” Whether you own an LG, Samsung, Whirlpool, GE, Maytag, or Bosch (front-load or top-load), the troubleshooting sequence is surprisingly consistent.
Quick summary: In service-manual-based troubleshooting, the drain filter and drain hose are usually the first inspection points. Start there before assuming a pump or control board issue.
Table of Contents
- Why a washer stops draining
- Most common causes
- Step-by-step fix protocol
- Brand error codes (LG OE / Samsung ND / Whirlpool F9E1)
- Quick diagnosis checklist
- Common scenarios (real search questions)
- Repair vs replace
- Prevention routine
- FAQ
- Safety disclaimer
- References
Why a Washer Stops Draining
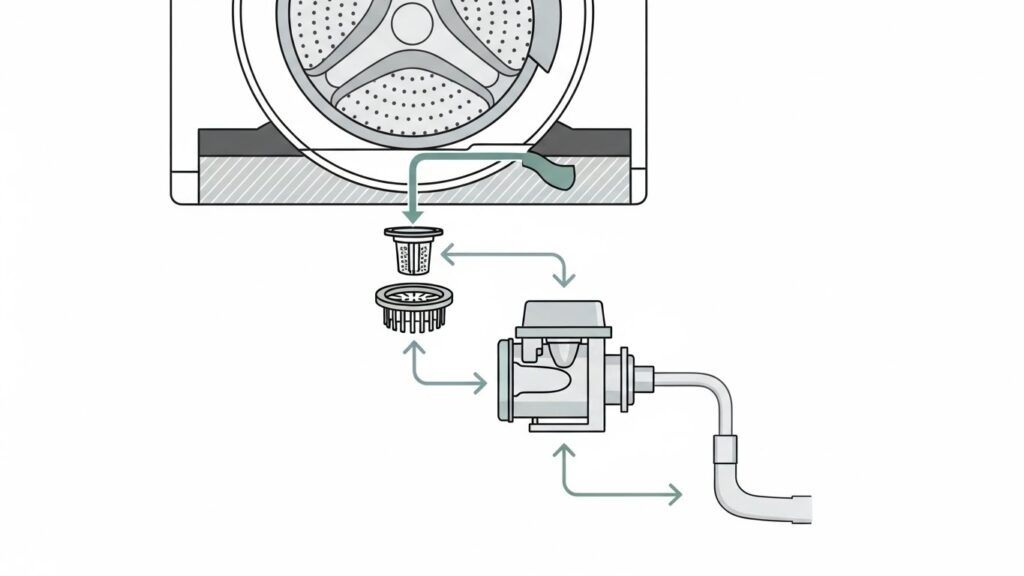
Every washer drains through the same basic path: drum → filter (or trap) → drain pump → drain hose. If water can’t move freely through any part of that path, the washer may stop draining to protect internal components.
- Odor & mildew can build up fast when water sits.
- Pump overheating can happen if the pump runs against a blockage.
- Leak risk increases if water backs up or the hose is forced out.
- Electrical safety risk rises when moisture spreads around the base.
Most Common Causes (Front-Load & Top-Load)
Across major brands, the same causes show up repeatedly in troubleshooting sections of service documentation:
- Clogged drain filter / trap — lint, coins, hairpins, tissues, small socks.
- Kinked drain hose — washer pushed too close to the wall.
- Residue buildup — excess detergent + fabric softener sludge.
- Frozen hose — garages/basements in winter.
- Pump obstruction — small objects jamming the impeller.
- Oversudsing — too much detergent creates foam that disrupts draining.
- Unbalanced/overloaded load — some washers pause to prevent damage.
What pros check first (without overclaiming numbers):
Most service-manual sequences start with the easiest, highest-yield checks: filter → hose → pump area.
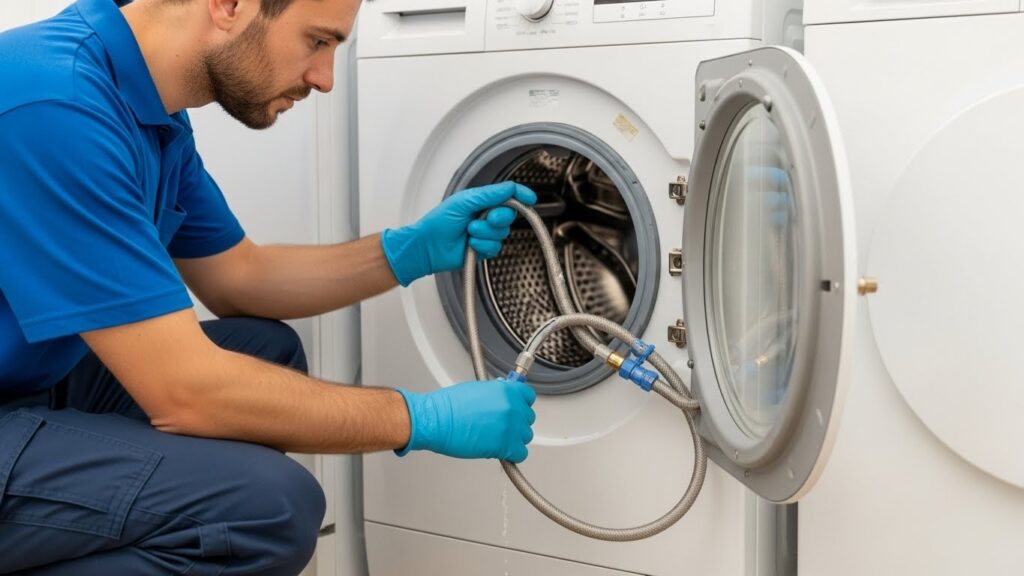
Step-by-Step Fix Protocol (Homeowner-Safe First, Technician Later)
⚠️ Safety first: Unplug the washer before opening access panels or touching water around the base. If you’re not comfortable, stop and call a qualified technician.
Step 1 — Power off and prep the area
- Unplug the washer.
- Keep towels and a shallow pan nearby.
- If water is high in the drum, remove some water first (small cup + bucket works).
Step 2 — Clean the washer drain filter (or coin trap)
On many front-load washers, a small door sits at the lower front panel. Inside is the filter/coin trap. Clean it carefully:
- Open the access door.
- Place a towel/pan under the filter.
- Turn the cap slowly (water may rush out).
- Remove lint, coins, debris, then rinse the filter.
Quick tip: If you find coins, bobby pins, or grit, wipe the housing (inside cavity) too. Debris there can cause repeat clogs.

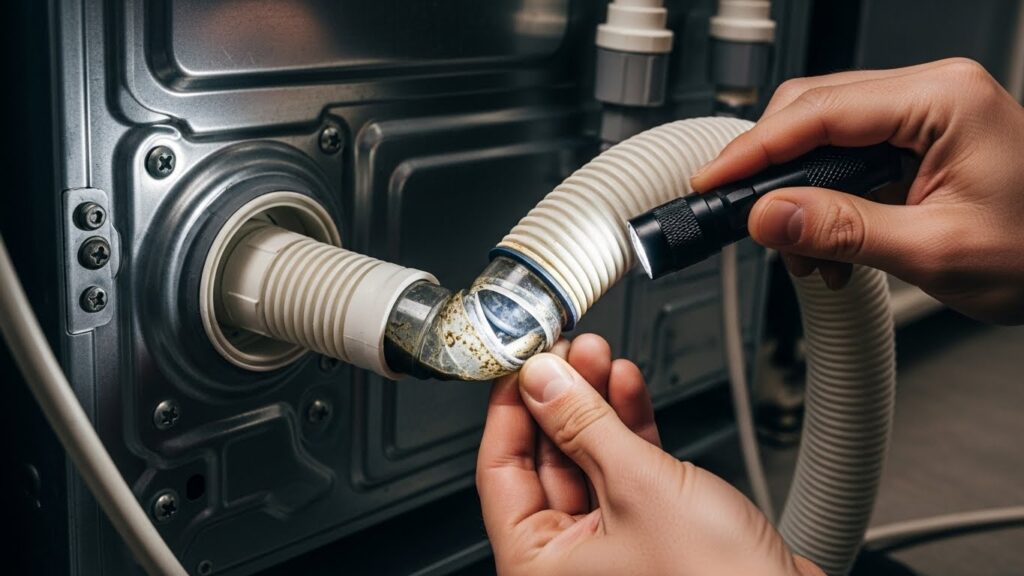
Step 3 — Inspect the washer drain hose (kinks, buildup, freezing)
- Pull the washer forward slightly.
- Look for sharp bends or compression behind the unit.
- If possible, detach the hose and flush with warm water.
What trips people up: A washer can drain fine for weeks, then fail after a small shift that kinks the hose. It’s annoyingly common.
Step 4 — Drain pump check (visual-only for most DIY)
If the washer hums during drain/spin but water barely moves, the pump area may be obstructed. Visual inspection through the filter housing is usually DIY-safe.
Technician line: Beyond basic visual inspection, removing the pump assembly or accessing internal wiring is best left to a qualified technician.
Step 5 — Reset and re-test
- Unplug for 2 minutes.
- Plug back in.
- Run Drain/Spin with an empty drum.
Brand Error Codes (Common U.S. Searches)
Different brands use different drain codes, but they point to the same core issue: restricted drainage.
- LG: OE (Drain error)
- Samsung: ND (No drain)
- Whirlpool / Maytag: F9E1 (Drain system problem)
Quick Diagnosis Checklist
| What you see | Most likely | Start here | DIY level |
|---|---|---|---|
| Water stays in drum | Filter/trap clogged | Clean filter housing | Easy |
| Humming but no draining | Pump area obstructed | Visual check via filter | Easy → Medium |
| Slow draining | Hose buildup/kink | Inspect + flush hose | Easy |
| Foam/SUD error | Too much detergent | HE detergent + reduce amount | Easy |
Common Scenarios (Search Intent)
“Washer not draining but spinning”
Often a partial blockage or oversudsing. Start with the drain filter, then check detergent use.
“Front load washer not draining after rinse”
Check hose height/standpipe setup and re-check the filter. A small obstruction can trigger failures at the rinse/drain transition.
“Top loader washer not draining”
Top-loaders can still clog in the hose path. Look for residue buildup and confirm the hose isn’t pinched or too deep in the standpipe.
Repair vs Replace (Practical Rule of Thumb)
If your washer is 10–12 years old and you’re seeing repeated drain issues plus other symptoms (noise, leaking, cycle failures), it may be smarter to compare repair quotes against replacement.
Drain pump repairs commonly fall in a $120–$260 range depending on model and local labor.
Prevention Routine (Low Effort, High Impact)
- Clean the drain filter every 30–60 days.
- Use HE detergent and avoid over-pouring.
- Run a monthly hot cleaning cycle (washer cleaner or manufacturer-recommended method).
- Keep space behind the washer to prevent hose kinks.
FAQ
Is it safe to keep using a washer that won’t drain?
Not recommended. Standing water can accelerate odor/mold growth and may stress the pump.
Do I always need a technician for a washer not draining?
No. Filter and hose checks are typically homeowner-friendly. Pump removal or internal wiring access should be handled by a qualified technician.
What if I cleaned the filter and the washer still won’t drain?
Next steps are hose inspection, drain path obstruction checks, and (if needed) a technician pump diagnosis.
Safety Disclaimer
This guide is for general informational purposes only. If you are not comfortable working with electrical appliances or water connections, contact a qualified technician. Always unplug the washer before inspection and follow the manufacturer’s safety instructions.
References
- Energy.gov – Energy efficiency and appliance guidance
- OSHA – Electrical and workplace safety basics
- Consumer Reports – Appliance reliability and maintenance topics

I publish step-by-step troubleshooting guides for common home appliance issues (washer, dryer, refrigerator, HVAC basics).
Content is written for everyday homeowners and cross-checked with manufacturer manuals, safety guidance, and trusted public resources.
Posts include practical checks, clear stop-signs for safety, and guidance on when it’s better to call a qualified technician. Updates are logged whenever steps or recommendations change.
Safety note: If you smell gas, see burning, or suspect electrical hazards—stop immediately and contact a qualified professional.