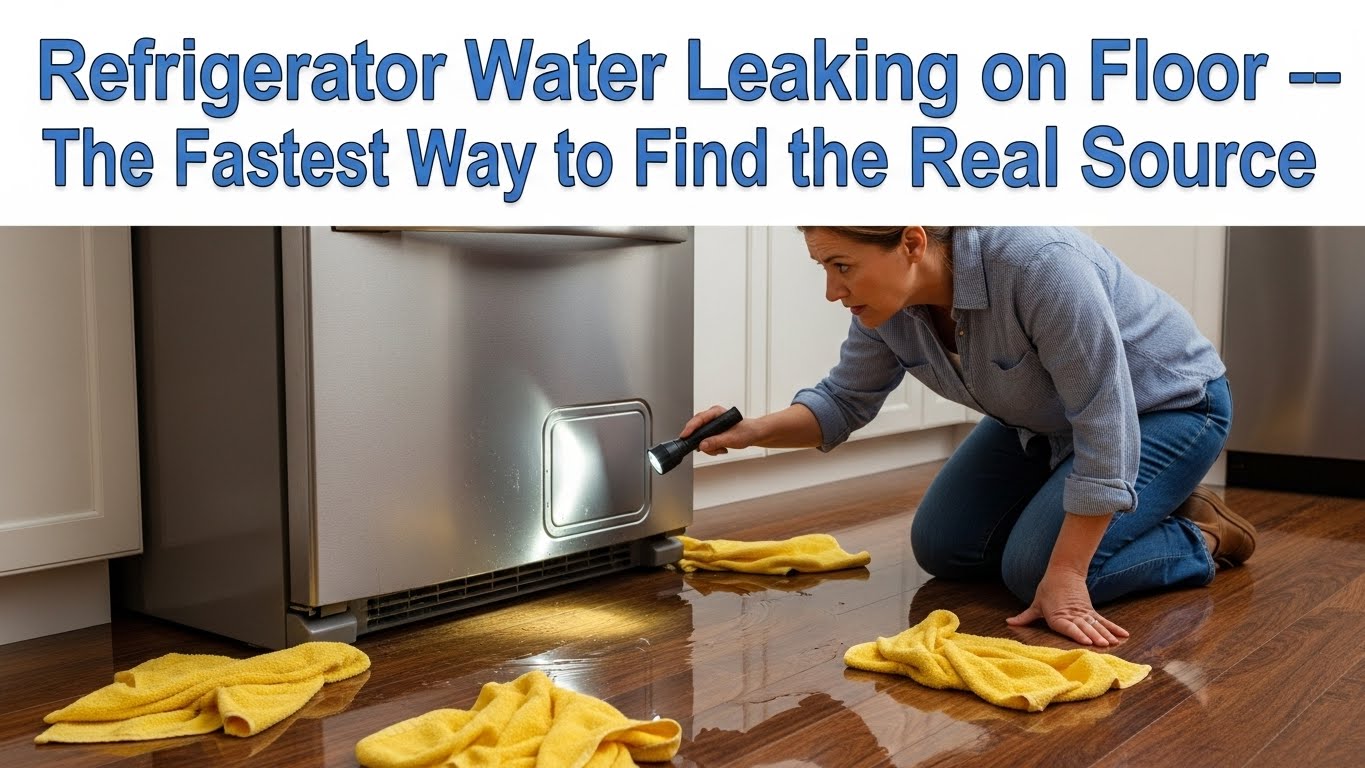
Why is my refrigerator leaking water on the floor?
A refrigerator usually leaks onto the floor due to a clogged defrost drain or a faulty water inlet valve. Follow these 5 steps to fix it:
- Flush the Defrost Drain: Use warm water to clear ice or debris from the drain hole.
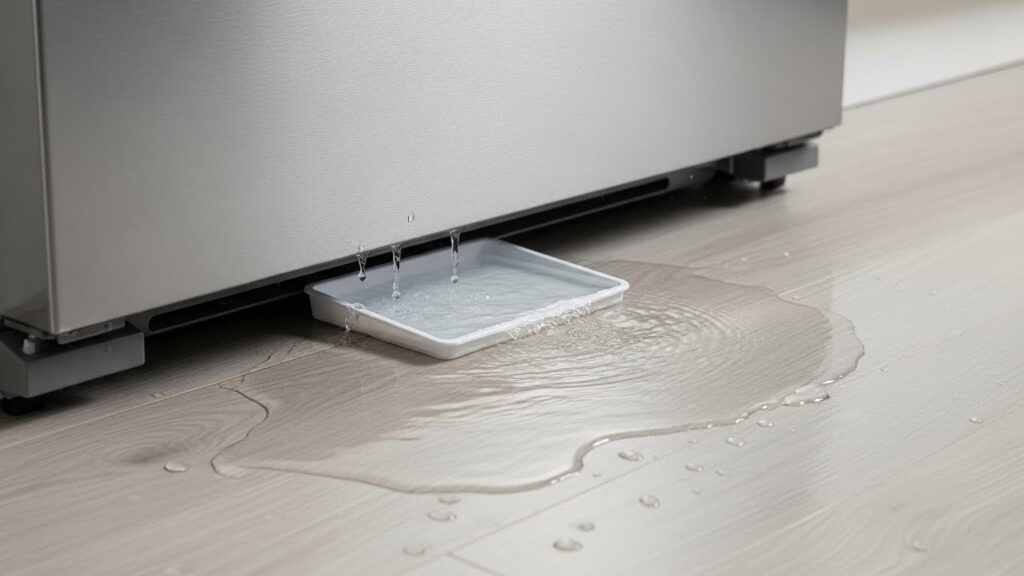
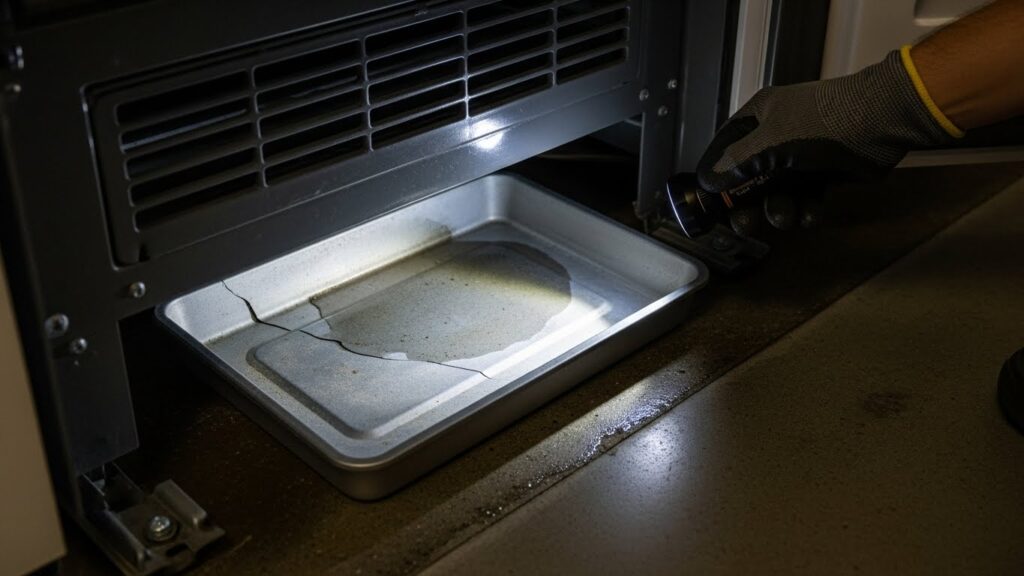
- Check the Drain Pan: Ensure it’s not cracked or tilted under the unit.
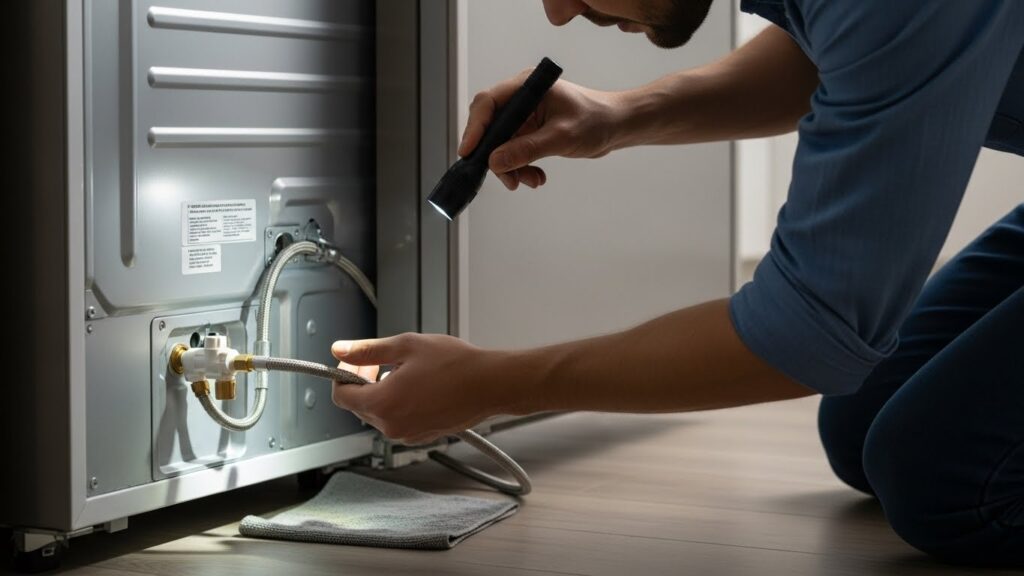
- Inspect the Water Line: Tighten loose fittings near the inlet valve or filter.
- Level the Fridge: Ensure the unit tilts slightly backward for proper drainage.
- Clean the Gaskets: Prevent humid air from entering and freezing the drain line.
Step-by-step checks with photos are explained below.
⚠️ Safety First: Unplug the refrigerator (or turn off power at the breaker) before removing panels or thawing ice. Shut off the water supply if your fridge has an ice maker or dispenser. Note: Some drain pans are located near the condenser fan; avoid contact with moving parts.
Tools Needed
| Tool | Purpose |
|---|---|
| Flashlight | Tracking the exact leak path |
| Towels / paper towels | Confirming fresh water vs old moisture |
| Turkey baster or squeeze bottle | Flushing the defrost drain (safe method) |
| Thermometer (optional) | Checking freezer temp stability |
How to Diagnose Refrigerator Water Leaking on Floor (Without Guessing)
Last updated: December 26, 2025
Refrigerator water leaking on floor looks simple (“there’s a puddle”), but the source is often not where the water shows up. Water can travel along the cabinet base and drip out at the front edge. According to technician data, nearly 70% of “front puddles” are caused by a frozen defrost drain tube rather than a plumbing failure. That’s why the fastest method is to identify the leak phase: defrost, water fill, or constant seep.
Quick triage:
- Puddle appears once or twice a day: often defrost drain overflow
- Puddle appears when ice maker/dispenser is used: water line / fitting leak
- Puddle is constant: drain pan crack or ongoing line seep
Table of Contents
- 1) Leak Patterns That Point to the Cause
- 2) Step-by-Step Fix Protocol (User-Level First)
- 3) Preventing Repeat Leaks
- 4) FAQ
- 5) How This Guide Was Prepared
- 6) Important Safety Notice
- 7) References
1) Leak Patterns That Point to the Cause
Most common “gotcha”: A clogged defrost drain can create ice under the freezer basket and still leak out onto the kitchen floor. If you see ice sheets on the bottom of your freezer, your drain is 100% blocked.
- Water on floor in front (once/twice daily): defrost drain clogged or frozen
- Water near the back wall: supply line, valve, or fitting seep
- Water under crisper drawers: drain path issue (varies by design)
- Ice maker present + puddle after ice use: inlet line / filter housing / connector leak
2) Step-by-Step Fix Protocol (User-Level First)
Step 1 — Identify when the water appears
Dry everything completely, then check again after (1) a few hours, (2) after ice maker use, and (3) the next morning. This helps separate defrost-related leaks from supply-line leaks.
Step 2 — Check for ice under the freezer floor/basket area
If you see a sheet of ice under the bottom bin, the defrost drain is a prime suspect. GE’s support guidance specifically links “water on floor” to a clogged defrost drain pattern on many models.
Step 3 — Safely thaw and flush the defrost drain
If you can access the drain hole/channel, gently thaw visible ice using warm air (no sharp tools). Then flush the drain with warm water using a turkey baster or squeeze bottle. Expert Insight: Mixing a teaspoon of baking soda into the warm water can help dissolve the “slime” (algae/mold buildup) that often causes recurring drain clogs.
Stop point: If clearing the drain requires removing deep interior panels or you can’t safely access the drain path, it’s reasonable to call a technician—forcing panels can crack liners and create bigger issues.
Step 4 — If you have an ice maker/dispenser, inspect the water line path
Shut off water supply, then inspect the supply line behind the unit and any visible fittings. A slow seep can drip down and show up as a “front puddle” even if the leak starts at the back.
Step 5 — Check the drain pan (cracks, position, overflow)
Locate the drain pan (design varies). If it’s cracked or misaligned, water may drip onto the floor. The Level Test: Use a spirit level on top of the fridge. If it tilts forward, water will spill out of the defrost trough before it reaches the drain hole.
3) Preventing Repeat Leaks
- Keep door seals airtight to reduce humidity intrusion that leads to drain icing.
- Avoid overpacking vents so airflow stays stable.
- Replace water filters on schedule: Restricted flow can stress the water inlet valve, causing small cracks that drip intermittently.
- Check the “Drain Heater” (if equipped): Some modern units have a small copper wire that dips into the drain; ensure it’s not bent out of place.
4) FAQ
Q: Why is there ice at the bottom of my freezer but the water is on the kitchen floor?
A: When the drain hole is blocked, the defrost water overflows the trough, runs down the back wall, freezes on the freezer floor, and the excess eventually spills out the front door gasket.
Q: Can a dirty condenser coil cause a leak?
A: Not directly, but it causes the fridge to run longer and hotter, which can crack the plastic drain pan over time due to heat fatigue.
5) How This Guide Was Prepared
This guide follows common troubleshooting sequences emphasized in manufacturer support documentation and practical maintenance guidance from public energy-efficiency resources like Energy.gov.
7) References
- GE Appliances Support: Water on Floor, Clogged Defrost Drain
- Whirlpool: How to Fix a Refrigerator That Is Leaking Water
- Samsung Support: Leaking Water Troubleshooting
- Energy.gov: Maintaining Refrigerators and Freezers
Related Guides on This Site

I publish step-by-step troubleshooting guides for common home appliance issues (washer, dryer, refrigerator, HVAC basics).
Content is written for everyday homeowners and cross-checked with manufacturer manuals, safety guidance, and trusted public resources.
Posts include practical checks, clear stop-signs for safety, and guidance on when it’s better to call a qualified technician. Updates are logged whenever steps or recommendations change.
Safety note: If you smell gas, see burning, or suspect electrical hazards—stop immediately and contact a qualified professional.