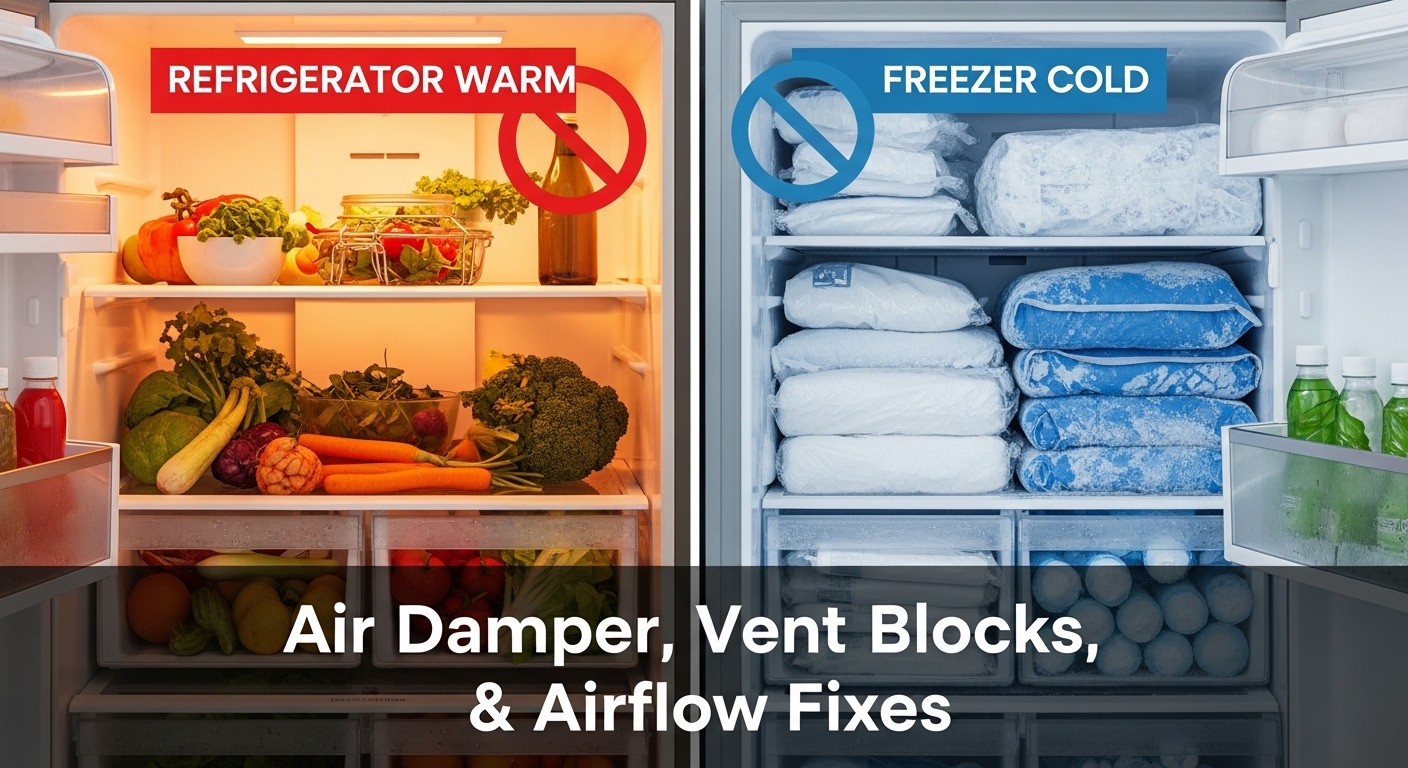
Refrigerator warm but freezer cold? Start with the airflow chain (vents → damper → fan → frost) before you touch anything expensive.
This combo usually means the freezer is still producing cold air, but the fridge section isn’t receiving or circulating it. The fastest wins are almost always: (1) blocked supply/return vents, (2) a stuck/iced air damper, (3) weak airflow from the evaporator fan or heavy frost. Fix the airflow path first and you avoid “random part swapping.”
Target temp (fridge)Aim for 40°F / 4°C or below for food safety.
Target temp (freezer)Aim for about 0°F / -18°C for stable frozen storage.
Stabilization ruleAfter airflow changes, give temps 12–24 hours to stabilize.
30-second diagnosis mindset
Freezer cold + fridge warm is an air delivery problem until proven otherwise. Follow the safe airflow flowchart on this page to pinpoint: blocked vents, a stuck damper, fan weakness, or frost choking the coil.
⚠️ Safety first (read before you start)
- Unplug the refrigerator before removing covers or reaching near wiring, fans, or connectors.
- Never chip ice with knives/screwdrivers—puncturing a coil can permanently damage the sealed system.
- Stop and call a pro if you smell burning, see melted plastic, hear loud electrical buzzing, or the unit trips breakers.
Updated: 2026-01-26 • One-page plan: vents → damper → evaporator fan → frost pattern → door seals → safe next steps
This problem is annoying because it feels “half broken.” The freezer is cold, so you assume the compressor is fine (often true), but the refrigerator section is warm, so you start turning knobs and hoping. Here’s the key: most refrigerators cool the fridge compartment by moving cold air from the freezer through a vent and a small “air door” called a damper. If that airflow path is blocked, iced, or stuck, the fridge warms up even while the freezer stays cold.
The goal of this page is simple: find where the cold air stops using low-risk checks first. By the end, you’ll be able to say one of these with confidence: “vent blockage,” “damper stuck,” “fan/frost issue,” or “door seal/usage pattern.”
Table of Contents
- How the fridge section gets cold (simple model)
- 10-minute quick check (no tools)
- Priority fix protocol (5 steps)
- Diagnostic matrix (symptom → cause → action)
- Timing plan (what to do today)
- Common mistakes (why they backfire)
- Stop line (when to call service)
- FAQ
- Internal Links
- References
- Safety notice & update log
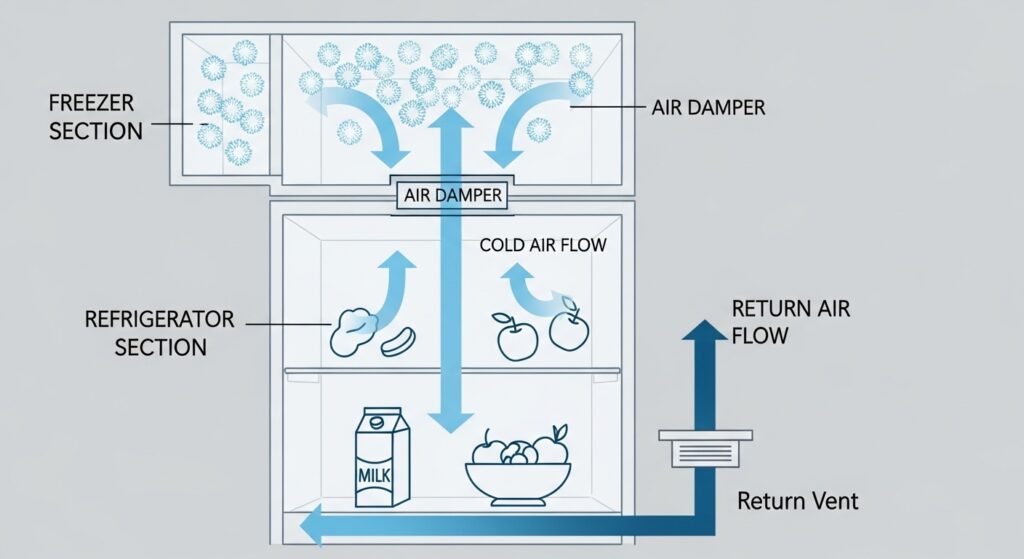
How the fridge section gets cold (simple model)
Think of the freezer as the “cold factory.” Cold is created at the evaporator coil, then the evaporator fan pushes air across that coil. Some of that cold air is sent into the refrigerator compartment through a supply vent. The amount of air that enters the fridge is controlled by the air damper (a small door that opens/closes). Air cycles back to the freezer through a return vent. If any link in this loop fails, the freezer can stay cold while the fridge warms.
| Component | What it does | If it fails, you often notice |
|---|---|---|
| Supply vent | Delivers cold air from freezer to fridge | Warm middle shelves; only a “cold spot” near the vent; weak airflow. |
| Air damper | Opens/closes to regulate fridge airflow | Stuck closed → warm fridge. Stuck open → frozen produce / icy back wall. |
| Return vent | Returns air to keep the loop moving | Uneven temps, warm zones that won’t correct even after settings changes. |
| Evaporator fan | Moves air across the cold coil | Fridge warm + freezer “kind of cold”; airflow noise missing; top area warms first. |
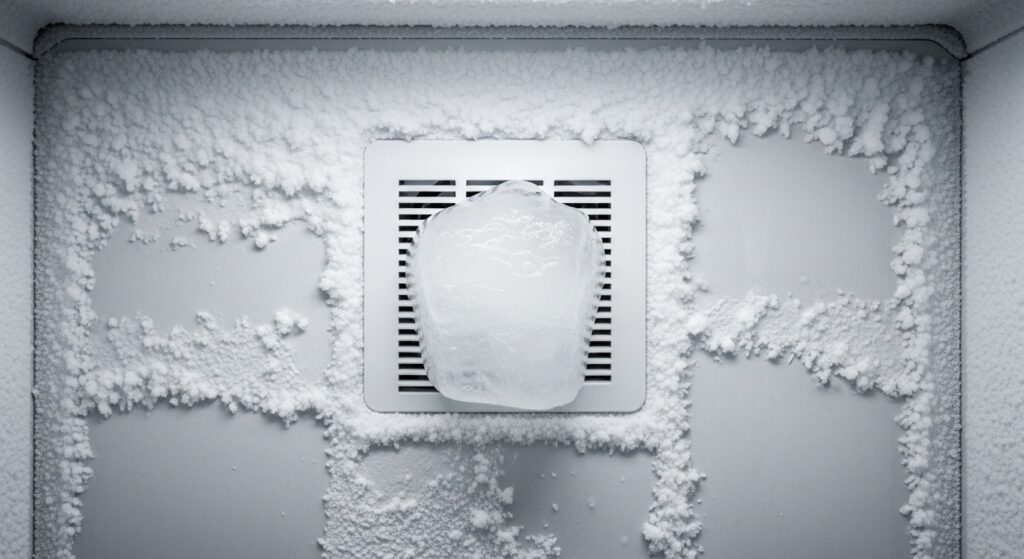
| Frost on coils | Too much frost blocks airflow | Heavy frost on freezer back panel; airflow weak; temps drift up/down. |
10-minute quick check (no tools)
- Do the “glass of water” temp check: thermometer in a glass of water on the middle shelf for 20–30 minutes.
- Clear both vents: give the supply and return vents 2–3 inches of space (no packages pressed against them).
- Listen: when the unit is cooling, you should hear steady airflow/fan activity (a quiet hum, not clicking).
- Look at the freezer back wall: light frost is normal; heavy “snow blanket” frost suggests airflow is choking.
- Don’t change 5 settings at once: one change → wait → re-check.
Priority fix protocol (5 steps, safest order)
- Step 1 — Confirm it’s truly “warm” (thermometer > feelings):
If the water-glass reading is above 40°F / 4°C, treat it as a real airflow/cooling issue, not just “it feels warm right now.” If it’s close to target but food is spoiling, jump to the vent/overpacking checks—air circulation can still be the culprit. - Step 2 — Clear vent blockage (most common, zero tools):
Find the supply vent (often upper back) and return vent (often lower back) in the fridge. Move packages away so the vents can breathe. In the freezer, avoid stacking items tight against the back wall—overpacking can quietly starve the fridge of airflow. - Step 3 — Check damper behavior (air delivery clue):
When the fridge calls for cooling, airflow into the fridge vent should increase. No change in airflow (and vents are clear) points to a damper that’s stuck closed, iced shut, or not responding. Frozen produce / icy fridge back wall often points to too much direct airflow (damper stuck open or airflow imbalance). - Step 4 — Decode the frost pattern (the silent airflow killer):
Look at the freezer back panel:- Light, even frost: usually normal.
- Heavy snow/ice sheet: airflow is being choked and cold air can’t travel.
- Step 5 — Decide: DIY stop line vs service:
If vents are clear and frost isn’t the issue, but airflow is still weak, the next checks can involve removing panels to inspect the fan/damper mechanism. If you’re not comfortable with that, stop here and call service with a clean symptom report: “Freezer cold, fridge warm, vents clear, frost pattern observed, airflow into fridge is weak.”
Pro tip (the “one variable” rule)
Take a quick photo of your control panel and note your current settings before you adjust anything. Change one thing (clear vents, then wait; or defrost, then wait). If you change 3 things at once, you can’t tell what actually worked.
Diagnostic matrix (symptom → likely cause → best next move)
| What you notice | Likely bucket | Confirm fast | Best first move |
|---|---|---|---|
| Freezer cold, fridge warm, vents blocked by food | Airflow blockage | Vent area pressed/covered; little space behind items | Clear vents + create space + wait 12–24 hours |
| Heavy frost on freezer back wall | Airflow choked by frost | Snow/ice sheet on back panel; weak airflow to fridge | Controlled defrost + re-check temps next day |
| Fridge freezes produce / icy back wall | Damper stuck open / airflow imbalance | Icing near supply vent area; cold blasts at top | Reduce direct airflow exposure; check for ice at damper area |
| No noticeable airflow + freezer temps drift too | Fan/airflow system issue | Fan sound missing; cooling feels “weak everywhere” | Limit door-open testing; consider service if you suspect fan access requires panel removal |
| Burning smell / hot plug / breaker trips | Electrical hazard | Heat at outlet, buzzing, repeated tripping | Unplug immediately and get qualified help |
Timing plan (what to do today)
| Time window | Do this | Success looks like |
|---|---|---|
| 0–15 minutes | Thermometer check + clear vents + reduce overpacking | Vent areas are open; air has a path to move |
| 15–45 minutes | Damper airflow feel test + freezer frost check | You can describe airflow and frost pattern clearly |
| 12–24 hours | Stabilization time after changes | Fridge trends toward ≤ 40°F / 4°C and stays stable |
Common mistakes (and why they backfire)
- Cranking the temp to “max cold” immediately. It can hide the real airflow problem and freeze the wrong areas.
- Blocking vents on purpose. Stuffing towels/containers “to force air” usually makes circulation worse.
- Scraping ice with tools. One puncture can turn a manageable frost issue into a major sealed-system repair.
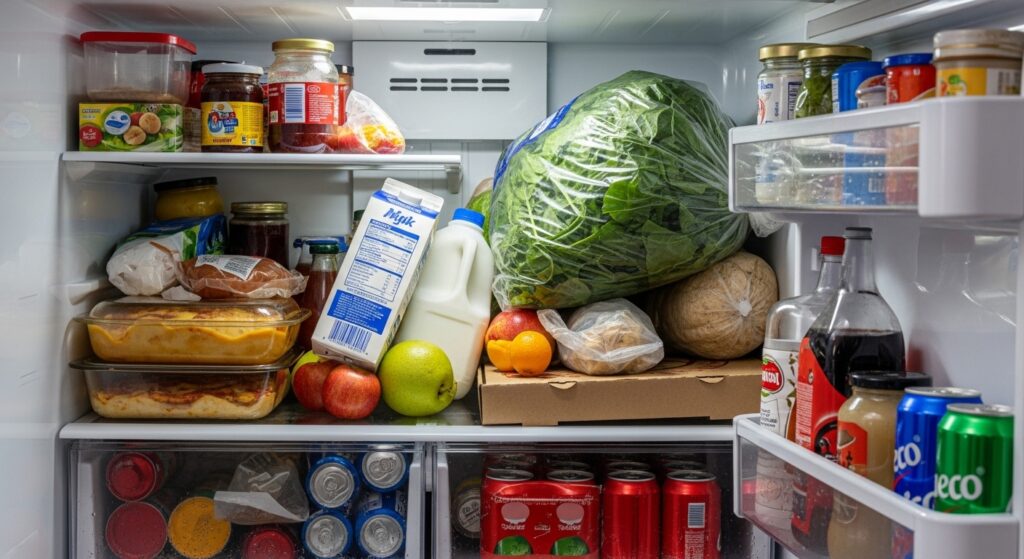
- Overpacking the freezer against the back wall. This quietly starves the fridge compartment of airflow over time.
- Testing with doors open too long. Extended open-door “testing” warms the system and makes symptoms harder to read.
The most common timeline: “It worked fine… then a big grocery load… then the fridge warmed.” That pattern screams airflow before anything else.
Stop line (call service)
Stop if you smell burning, see melted plastic, feel a hot outlet/plug, hear loud electrical buzzing, or breakers keep tripping. Also consider faster service if the freezer stops cooling or temperatures rise quickly (food safety risk).
FAQ
Why is my freezer cold but my refrigerator warm?
Because the fridge compartment relies on cold air delivered from the freezer. If airflow is blocked (food, ice, stuck damper, weak fan), the fridge warms even when the freezer stays cold.
Where are the vents and why do they matter?
Most models have a supply vent (cold air in) and a return vent (air back). If either is blocked, circulation collapses and temperatures become uneven.
How do I know if the damper is stuck?
If vents are clear but airflow never increases during cooling, the damper may be stuck closed or iced. If the fridge freezes items near the back/vent area, it may be stuck open or airflow is unbalanced.
What does heavy frost on the freezer back wall mean?
Heavy frost can choke airflow across the coil and through vents. That’s why the freezer can still feel cold while the fridge warms—cold air can’t travel properly.
Should I do a full defrost?
If frost is severe, a controlled defrost (unplug, doors open, towels) can restore airflow safely. Avoid tools or aggressive heat near plastic and wiring.
How long should I wait after changes?
Give it 12–24 hours to stabilize after vent clearing, setting changes, or defrosting.
Could this be a thermostat or sensor problem?
It can be, but airflow problems are far more common with this symptom pattern. If vents are clear, frost is normal, and airflow is still weak or erratic, then sensor/control diagnostics become the next step (often best left to service).
Internal Links
- https://homefixatlas.com/refrigerator-not-cooling-fix-guide/ — Full checklist for coils, airflow, and door seal checks when cooling is weak.
- https://homefixatlas.com/freezer-frost-build-up/ — If you see heavy frost, use this guide to understand causes and safe defrost steps.
- https://homefixatlas.com/refrigerator-temperature-fluctuating/ — For unstable temps after “fixes,” this helps you isolate airflow vs controls vs usage patterns.
- https://homefixatlas.com/how-to-clean-refrigerator-coils/ — Coil cleaning steps to reduce heat load and improve efficiency.
References
- FDA — Refrigeration and Food Safety
- FoodSafety.gov — Chill (Refrigerator/Freezer Temperature Guidance)
Safety notice
This article is informational and prioritizes low-risk checks first. Internal electrical work and disassembly can be hazardous. If you smell burning, see melted plastic, feel a hot outlet/plug, or breakers trip, stop use and contact a qualified professional.
Update log: 2026-01-26 — Rebuilt the guide around an airflow-first diagnosis, added quick-check protocol, expanded diagnostic matrix, and clarified safe stop lines.

I publish step-by-step troubleshooting guides for common home appliance issues (washer, dryer, refrigerator, HVAC basics).
Content is written for everyday homeowners and cross-checked with manufacturer manuals, safety guidance, and trusted public resources.
Posts include practical checks, clear stop-signs for safety, and guidance on when it’s better to call a qualified technician. Updates are logged whenever steps or recommendations change.
Safety note: If you smell gas, see burning, or suspect electrical hazards—stop immediately and contact a qualified professional.