Why Ice Maker Not Working After Filter Change Happens (Air Trapped, Flow Restriction, and Reset Timing)
Last updated: December 21, 2025
Ice maker not working after filter change is most often caused by trapped air in the water line, insufficient flushing time, or flow restriction from an improperly seated filter. According to multiple manufacturer service manuals, ice production typically pauses when water flow drops below normal operating range.
Quick answer: After a filter change, most ice makers need proper flushing and up to 12–24 hours to fully restore normal ice production.
Table of Contents
- 1) Common Symptoms After a Filter Change
- 2) What the Data and Manuals Show
- 3) Step-by-Step Fix Protocol
- 4) Real Search Scenarios Explained
- 5) FAQ
- 6) Safety Disclaimer
- 7) References
1) Common Signs Ice Stops After a Filter Change
- No ice production within several hours
- Ice maker cycles but no water enters the mold
- Hollow or very small ice cubes
- Air sputtering from the water dispenser
2) What the Data and Manuals Show
Across LG, Samsung, Whirlpool, GE, and Bosch documentation, several patterns are consistent:
- Flushing volume: Most manufacturers recommend flushing 2–4 gallons (7.5–15 liters) of water after filter installation.
- Ice recovery time: Normal ice production typically resumes within 12–24 hours after proper flushing.
- Flow sensitivity: Ice makers are designed to pause when water flow drops below internal thresholds to prevent damage.
Why this matters: Even a correctly installed filter can temporarily reduce flow until air is fully purged from the system.
3) Step-by-Step Fix Protocol (Data-Backed Order)
Safety note: Turn off the ice maker before handling filters or water lines.
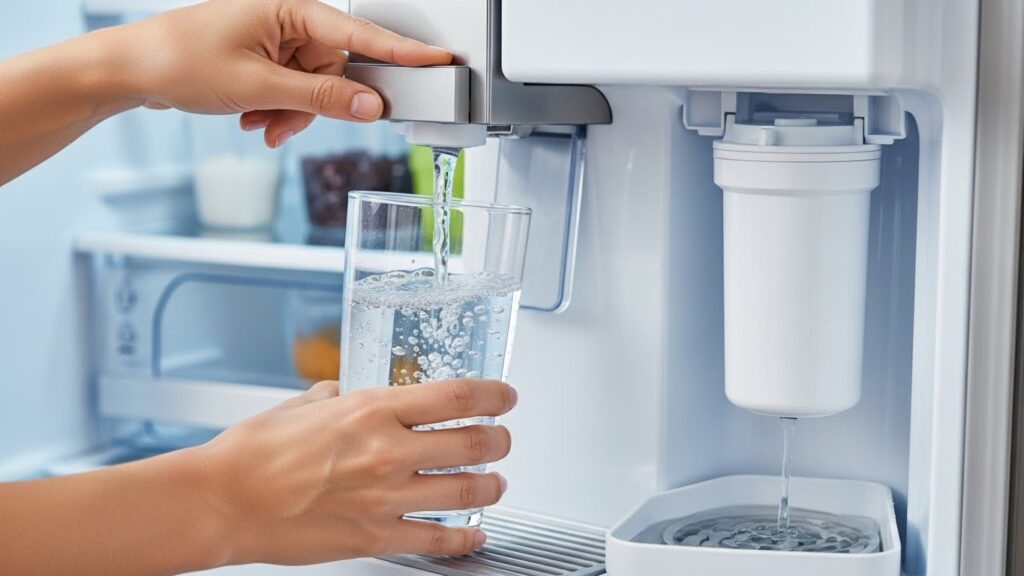
Step 1 — Flush the filter thoroughly (most effective)
Manufacturers consistently recommend flushing 2–4 gallons of water after installing a new filter. This removes trapped air and loose carbon particles.
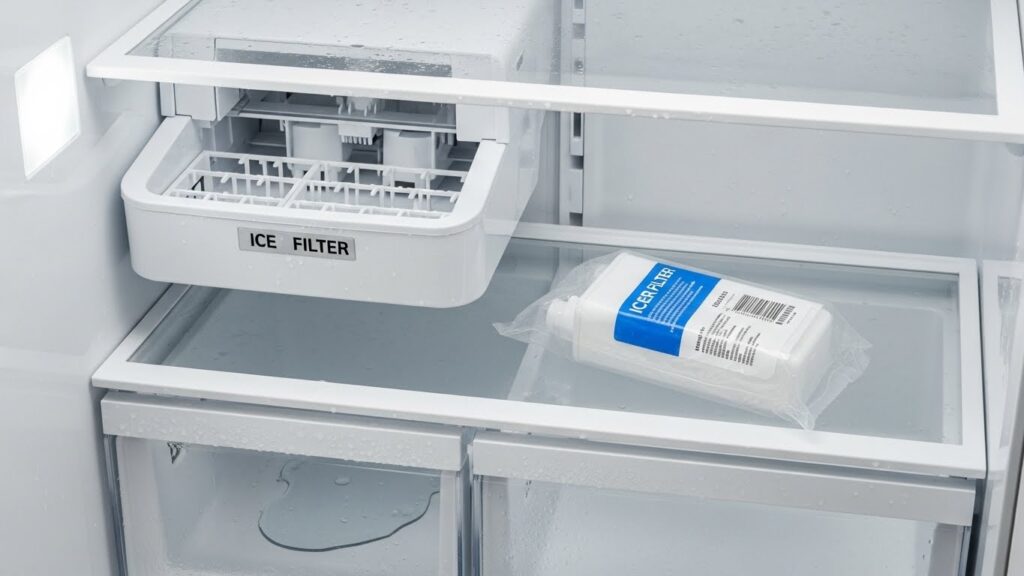
Step 2 — Check filter seating and alignment
If the filter is not fully seated, internal valves may restrict water flow. Remove and reinstall the filter until it locks firmly in place.
Step 3 — Allow sufficient recovery time
Even with proper flow restored, ice makers often require 12–24 hours to cycle and refill the bin. Discard the first batch of ice.
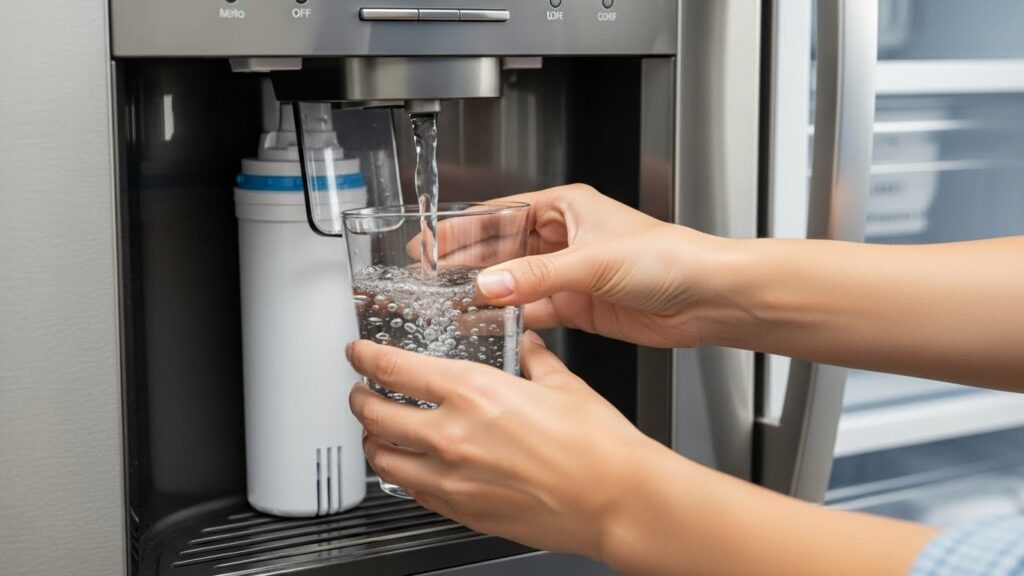
Step 4 — Inspect for flow-related symptoms
Weak dispenser flow or hollow ice cubes indicate ongoing restriction. In these cases, re-flush or test without the filter briefly (if manufacturer-approved).
Step 5 — Reset the ice maker if supported
Some models include a reset or test button. Use only the method specified in the manufacturer manual.
4) Real Search Scenarios Explained
“Ice maker not working after filter change”
Most commonly caused by air in the water line or insufficient flushing.
“Water works but ice maker doesn’t”
Ice makers are more sensitive to flow reduction than dispensers.
“New filter installed and ice stopped”
Usually resolves within 24 hours when flushing is done correctly.
5) FAQ
How long after changing the filter should ice return?
In most cases, normal ice production resumes within 12–24 hours after proper flushing.
How much water should I flush after a filter change?
Most manufacturers recommend flushing 2–4 gallons of water.
Can a new filter stop ice production?
Temporarily, yes. Air pockets and carbon fines can restrict flow until flushed.
Is it safe to discard the first ice?
Yes. Discarding initial ice batches is commonly recommended in service manuals.
When should I replace the ice maker?
If ice does not return after proper flushing and recovery time, professional diagnosis is recommended.
6) Safety Disclaimer
This guide is for general informational purposes only. Follow your manufacturer’s instructions and contact a qualified technician if you are unsure.
7) References
- Samsung — Ice maker and filter troubleshooting
- Consumer Reports — Refrigerator water and ice systems
Related Guides on This Site
- Ice Maker Not Working: Water Line and Filter Checks
- Ice Maker Making Small or Hollow Ice Cubes
- Refrigerator Temperature Fluctuating

I publish step-by-step troubleshooting guides for common home appliance issues (washer, dryer, refrigerator, HVAC basics).
Content is written for everyday homeowners and cross-checked with manufacturer manuals, safety guidance, and trusted public resources.
Posts include practical checks, clear stop-signs for safety, and guidance on when it’s better to call a qualified technician. Updates are logged whenever steps or recommendations change.
Safety note: If you smell gas, see burning, or suspect electrical hazards—stop immediately and contact a qualified professional.