
Why is my freezer building up frost?
Freezer frost build-up is usually caused by humid air entering through a poor door seal, frequent door openings, or airflow/defrost problems. To fix it permanently, follow these 5 steps:
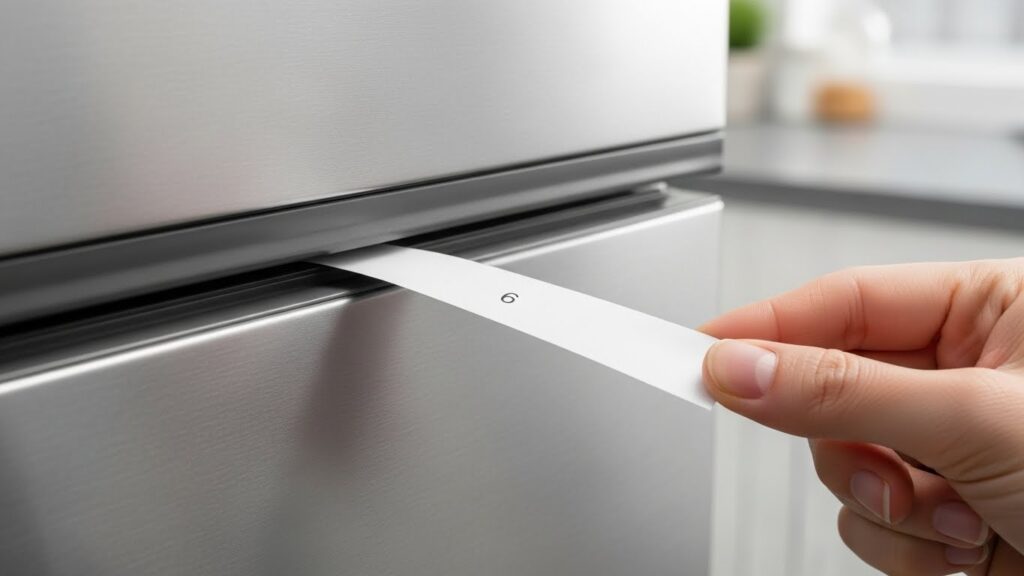
- Perform the “Paper Test”: Identify gaps in the door gasket.
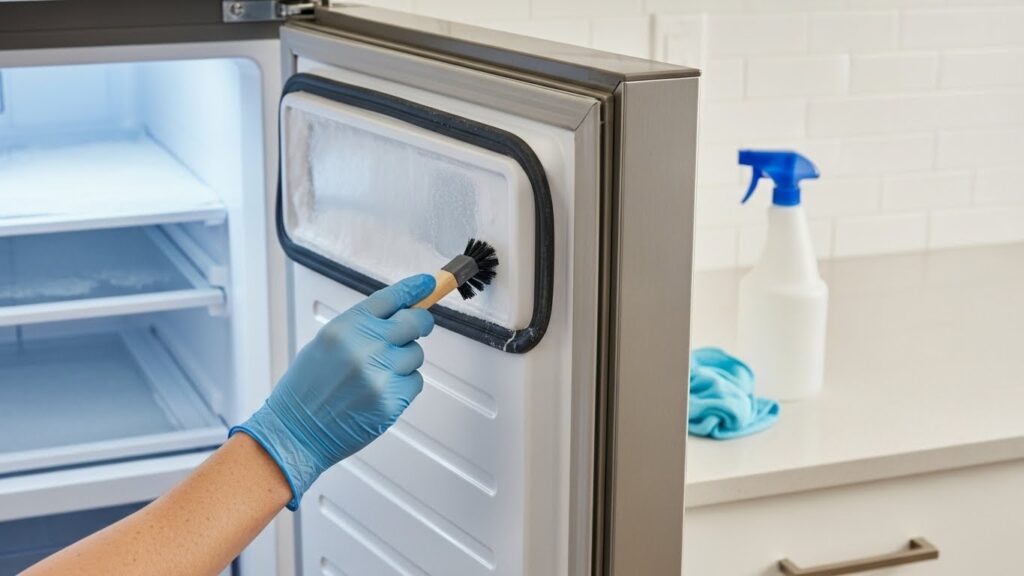
- Clean Sticky Gaskets: Ensure an airtight seal with mild soapy water.
- Check for Blockers: Ensure bins or food aren’t preventing full closure.
- Optimize Airflow: Keep a 2-inch gap between food and back-wall vents.
- Verify Temperature: Maintain a stable 0°F (-18°C) to prevent moisture spirals.
If you fix the air leak first, frost often stops coming back. Detailed step-by-step fixes with photos are explained below.
⚠️ Safety First: Unplug the refrigerator/freezer (or switch off power at the breaker) before removing panels or working near fans. Keep towels ready—melting frost can drip quickly and create slip hazards. *Always follow the manufacturer’s safety protocols before accessing electrical components.
Tools Needed
| Tool | Purpose |
|---|---|
| Flashlight | Spotting gaps, torn gasket areas, airflow blockage |
| Paper bill / sheet of paper | Quick door-seal tension test (“paper test”) |
| Thermometer | Confirm freezer temperature stability |
| Soft cloth + mild soapy water | Cleaning sticky/dirty gaskets |
| Hair Dryer (Low Heat) | Reshaping warped gaskets (Expert Hack) |
Why Freezer Frost Build-Up Happens (and Why It Keeps Coming Back)
Last updated: December 29, 2025
Freezer frost build-up usually isn’t “random.” Most cases come down to one simple physics problem: humid air gets in, then that moisture freezes on the coldest surfaces. According to energy efficiency data, even a minor seal leak can cause up to 15% energy loss as the compressor works overtime. Manufacturer troubleshooting guides consistently start with door sealing and airflow before anything else.
Quick triage: Frost on the door edge = seal/air leak. Frost on the back wall = airflow/defrost pattern. Frost mainly on the floor = drainage/ice accumulation pattern.
Table of Contents
- 1) Frost Patterns That Tell You the Cause
- 2) Most Common Causes (What Manuals Prioritize)
- 3) Step-by-Step Fix Protocol
- 4) Prevention That Actually Works
- 5) FAQ
- 6) How This Guide Was Prepared
- 7) Important Safety Notice
- 8) References
1) Frost Patterns That Tell You the Cause
- Door frame / door edge frost: gasket not sealing, warped door, or something blocking closure
- Back wall “snow”: airflow restriction or defrost cycle issue
- Thick ice on the bottom: moisture + drainage/ice accumulation pattern (often from repeated humid air entry)
2) Most Common Causes (What Manuals Prioritize)
- Door not sealing: dirty/sticky gasket, torn gasket, warped door, bins blocking closure
- Frequent door openings: especially long “standing open” moments while loading groceries
- Temperature instability: freezer not holding around 0°F (-18°C) can increase moisture problems
- Airflow issues: overpacked freezer blocks vents, causing uneven cooling and frost zones
Why this matters: If you replace parts before fixing the air leak, frost usually returns—and fast.
3) Step-by-Step Fix Protocol (User-Level First)
Step 1 — Do the paper test on the entire door seal
Close the door on a bill/sheet of paper and pull it out. You should feel steady resistance. Test multiple spots around the gasket. If it slides out easily in one area, that’s your leak point.
Step 2 — Clean the gasket (sticky seals leak)
Wipe the gasket and mating surface with mild soapy water, then dry thoroughly. Expert Hack: If the gasket is slightly warped or stiff, use a hair dryer on LOW heat to soften the rubber, then close the door to let it re-mold into an airtight shape.
Step 3 — Check for “invisible blockers”
Look for drawers, pizza boxes, ice bin corners, or bags preventing the door from closing fully. This is one of the most common real-life causes, especially in crowded freezers.
Step 4 — Confirm freezer temperature stability
Use a thermometer to confirm the freezer can hold near 0°F (-18°C). If it can’t, frost and moisture issues tend to spiral because the system runs longer and cycles oddly.
Step 5 — Improve airflow (The 2-Inch Rule)
Pull items away from vents and avoid “packing tight” against the back wall. The 2-Inch Rule: Maintaining at least 2 inches of space between food and the back wall ensures cold air can circulate, preventing frost pockets.
Step 6 — If frost returns fast, suspect a defrost/airflow imbalance
At this point, the next checks may involve panels and electrical components. For most households, it’s smarter and safer to stop at visual inspection and call a technician if needed.
Where to stop (safety line): Removing interior panels, accessing heaters/thermistors, or testing electrical parts should generally be left to a qualified technician.
4) Prevention That Actually Works (Not Just “Open Less”)
- Clean gaskets every 1–2 months (especially if they feel sticky)
- Do a quick “door close check” 후 loading groceries (one gentle push, don’t slam)
- Keep airflow lanes open near vents and the back wall
- Fix the root cause first—defrosting without sealing fixes is a temporary reset
5) FAQ
Is freezer frost build-up always a defrost system failure?
No. Many cases start with air leaks (door seal or door not fully closing). Fix the leak first.
Why did frost return 24 hours after I defrosted it?
Defrosting only removes the ice, not the moisture source. If the door seal is leaking, warm air will immediately begin freezing on the coils again.
What temperature should my freezer be set to?
Most guidance centers around about 0°F (-18°C) for typical household freezers.
Does a dirty door gasket really cause frost?
Yes. Dirt and residue can prevent a tight seal, letting humid air in.
6) How This Guide Was Prepared
This guide was written using common diagnostic sequences emphasized in manufacturer troubleshooting documentation and public energy-efficiency maintenance guidance. The focus is on user-safe checks first, with clear stop points for higher-risk steps.
7) Important Safety & Information Notice
This article is provided for general informational purposes only. Appliance troubleshooting may involve electrical components and sharp surfaces. If you are unsure or uncomfortable performing these checks, contact a qualified appliance technician.
8) References (Checked for Validity)
- GE Appliances — Why is my freezer frosting up?
- Whirlpool — How to Avoid Frost Build Up
- Energy.gov — Refrigerator Health and Efficiency
- Samsung Support — Ice on the bottom of a freezer
Related Guides on This Site

I publish step-by-step troubleshooting guides for common home appliance issues (washer, dryer, refrigerator, HVAC basics).
Content is written for everyday homeowners and cross-checked with manufacturer manuals, safety guidance, and trusted public resources.
Posts include practical checks, clear stop-signs for safety, and guidance on when it’s better to call a qualified technician. Updates are logged whenever steps or recommendations change.
Safety note: If you smell gas, see burning, or suspect electrical hazards—stop immediately and contact a qualified professional.