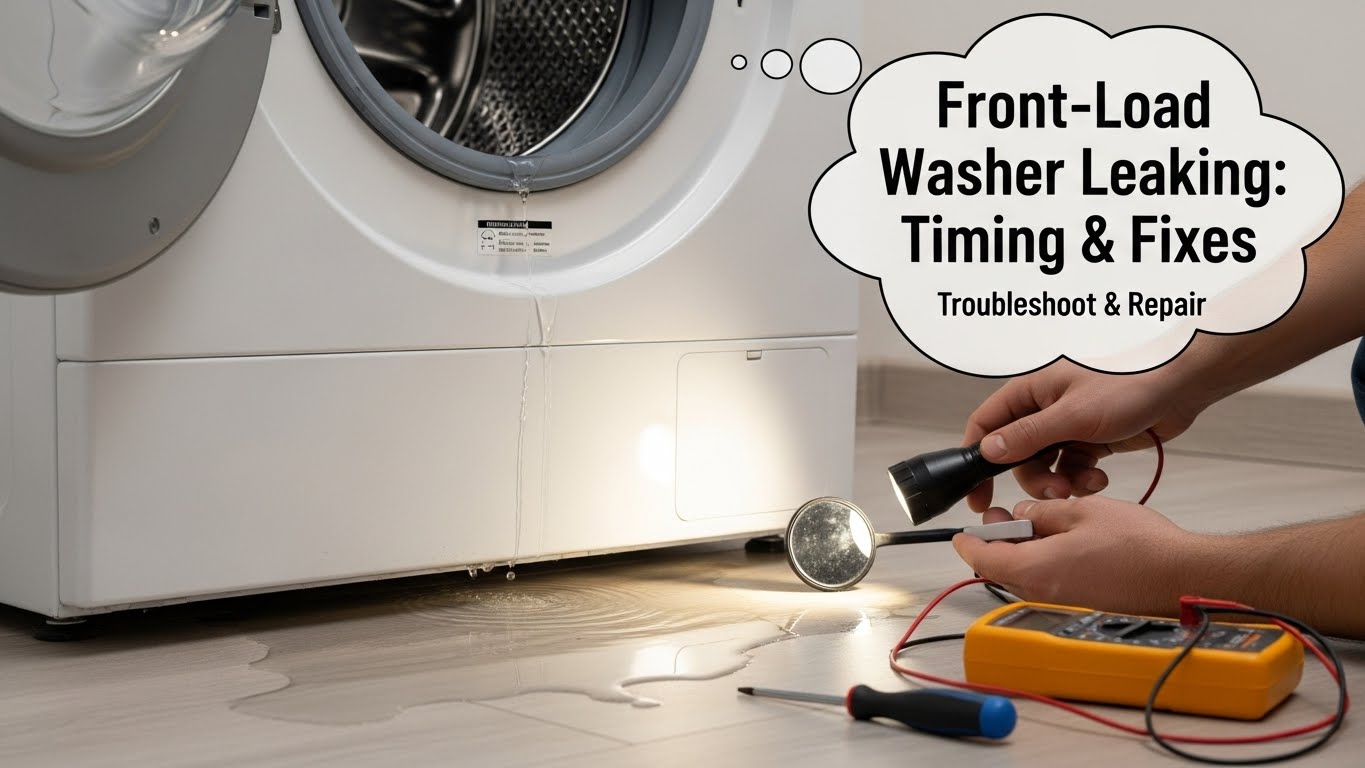
Front-load washer leaking from bottom? Find the source in 3 minutes—before touching a single screw.
The fastest diagnostic shortcut is WHEN the water appears. Leak timing almost always points to the source: fill = inlet hoses, wash = door seal / oversuds, drain = pump filter or drain hose. Most “bottom leaks” are external—not a cracked tub.
3 safety rules before you start
- Unplug first: water + electricity is a real shock risk.
- Dry the floor: start with a clean baseline so fresh drips stand out.
- Follow gravity: bottom puddles often start higher up.
⚠️ Stop immediately if you see these signs
- Water near the outlet or power cord
- Burning smell, sparks, or repeated breaker/GFCI trips
- Tingling or shock when touching the cabinet
These indicate electrical danger or an internal hose failure. Unplug and call a professional.
Updated: 2026-01-17 • Plain-English troubleshooting • Manufacturer references included
A puddle under a front-load washer feels like a worst-case scenario. But in real-world service calls, most bottom leaks are external—a slow hose seep, a dirty door seal, or a pump filter that didn’t reseat perfectly. The key is mapping the leak path safely instead of guessing.
How water reaches the floor (the simple logic)
Water enters through the inlet hoses, moves into the tub, and exits through the drain pump and hose. A leak underneath usually means water escaped earlier and followed the frame down.
| When it leaks | Most likely source | Fastest safe check |
|---|---|---|
| Right as filling starts | Inlet hoses / connections | Dry towel around joints → watch for fresh moisture |
| Mid-wash / tumbling | Door seal or oversuds splash | Inspect gasket folds for debris or buildup |
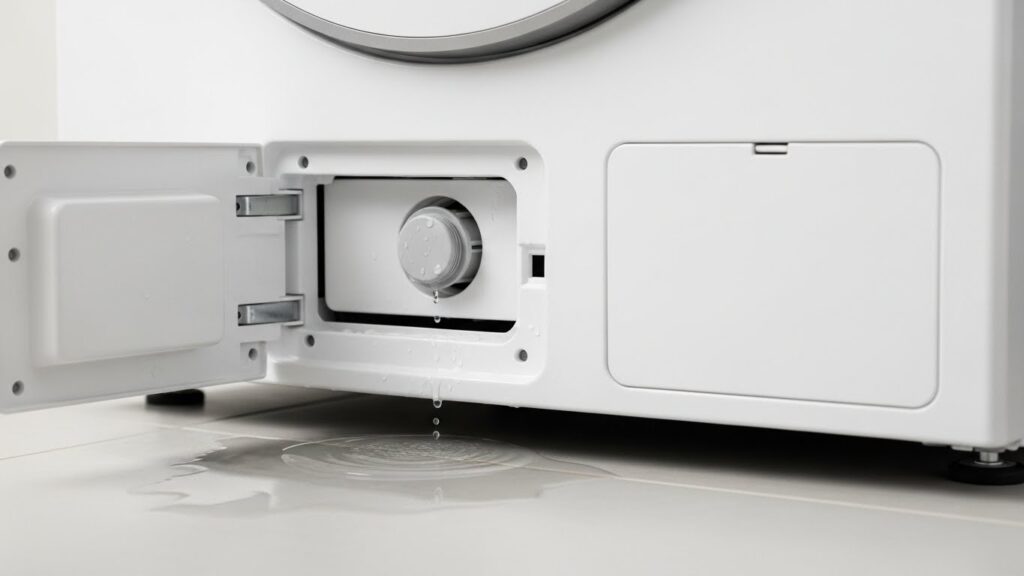
| Drain or final spin | Pump filter / drain hose | Check filter cap seating and drip trails |
Priority Fix Protocol (safe order)
- Unplug and dry everything: Start with a dry floor and cabinet edge so new drips are obvious.
- Paper-towel drip test (3 minutes): Place towels under front and back edges, run a short fill, then stop. The first wet towel shows direction.
- Fill-stage leak → check inlet hoses: Tighten fittings and inspect rubber washers. A tiny seep can travel down the frame.
- Wash-stage leak → clean door seal: Wipe gasket folds. Lint and pet hair can redirect water downward.
- Drain-stage leak → reseat pump filter: Clean threads and O-ring. Snug firmly—don’t over-tighten.
Pro insight: Most recurring leaks come from dirt on a sealing surface—not a bad part.
Diagnostic matrix (what you see → what it means)
| Symptom | Root cause | Best first move |
|---|---|---|
| Puddle appears immediately | Inlet hose seep | Replace hose washers |
| Water trails down door | Dirty / warped gasket | Clean seal folds |
| Leak only during drain | Pump filter or hose | Reseat filter cap |

FAQ
Why does my front-load washer leak from the bottom only during drain?
The drain cycle creates the highest pressure. That usually points to the pump filter, drain hose, or a loose clamp.
Can too much detergent cause a bottom leak?
Yes. Oversuds can bypass the door seal and spill into the cabinet. Use HE detergent and correct amounts.
I cleaned the pump filter and now it leaks more—what happened?
Debris on the O-ring or cross-threading prevents a proper seal. Clean and reseat carefully.
Is a cracked tub common?
No. Cracked tubs are rare. Always rule out hoses, gasket, and pump filter first.
Is it safe to run the washer while it’s leaking?
No. Pause and diagnose. Even small leaks can reach wiring or outlets.
Internal resources
https://homefixatlas.com/washer-not-draining/
https://homefixatlas.com/washer-smells-bad/
https://homefixatlas.com/washer-shaking-or-vibrating/
References
Safety notice
This guide covers safe, non-invasive checks. If electrical danger signs appear, unplug and contact a licensed technician.

I publish step-by-step troubleshooting guides for common home appliance issues (washer, dryer, refrigerator, HVAC basics).
Content is written for everyday homeowners and cross-checked with manufacturer manuals, safety guidance, and trusted public resources.
Posts include practical checks, clear stop-signs for safety, and guidance on when it’s better to call a qualified technician. Updates are logged whenever steps or recommendations change.
Safety note: If you smell gas, see burning, or suspect electrical hazards—stop immediately and contact a qualified professional.